Users
What is a User?
A user represents an actual person. Each user will have their own contact information and notification preferences.
Users are independent objects in PagerTree and are associated to Accounts via the Account User relationship. Please see account organization for full details on how this relationship works.
Roles
Roles are specific to the Account context. Please see roles section regarding permissions within an account.
Settings
| Option | Scope | Description |
|---|---|---|
| Time Zone | Global | The preferred time zone of the user. Affects how times are displayed in the UI. |
| Preferred Language | Global | The preferred language of the user. Affects how the UI is translated. Supported languages are English, Spanish, French, German, and Dutch. |
| Notification Rules | Account | The notification rules to use when getting notified about alerts for this account. |
| Going On-Call Notifications | Account | Going On-Call notification settings. See going on-call docs below. |
| Going Off-Call Notifications | Account | Going Off-Call notification settings. See going on-call docs below. |
| Emoji Mode | Global | Display Emojis in the navbar. |
| Advanced Mode | Global | Display "advanced" models. See advanced mode below. |
| Debug Mode | Global | Display "debug" models. (usually only used for support). |
| App Notification Persistent | Global | Persistent notification setting for the mobile application. |
| App Notification Sound | Global | Notification sounds setting for the mobile application. |
Advanced Mode
By default PagerTree hides many of the more "advanced" functionality. To view advanced objects you will need to enable advanced mode.
-
Navigate to the My Settings Page.
-
Scroll to the Other Settings section.
-
Check the Advanced Mode checkbox.
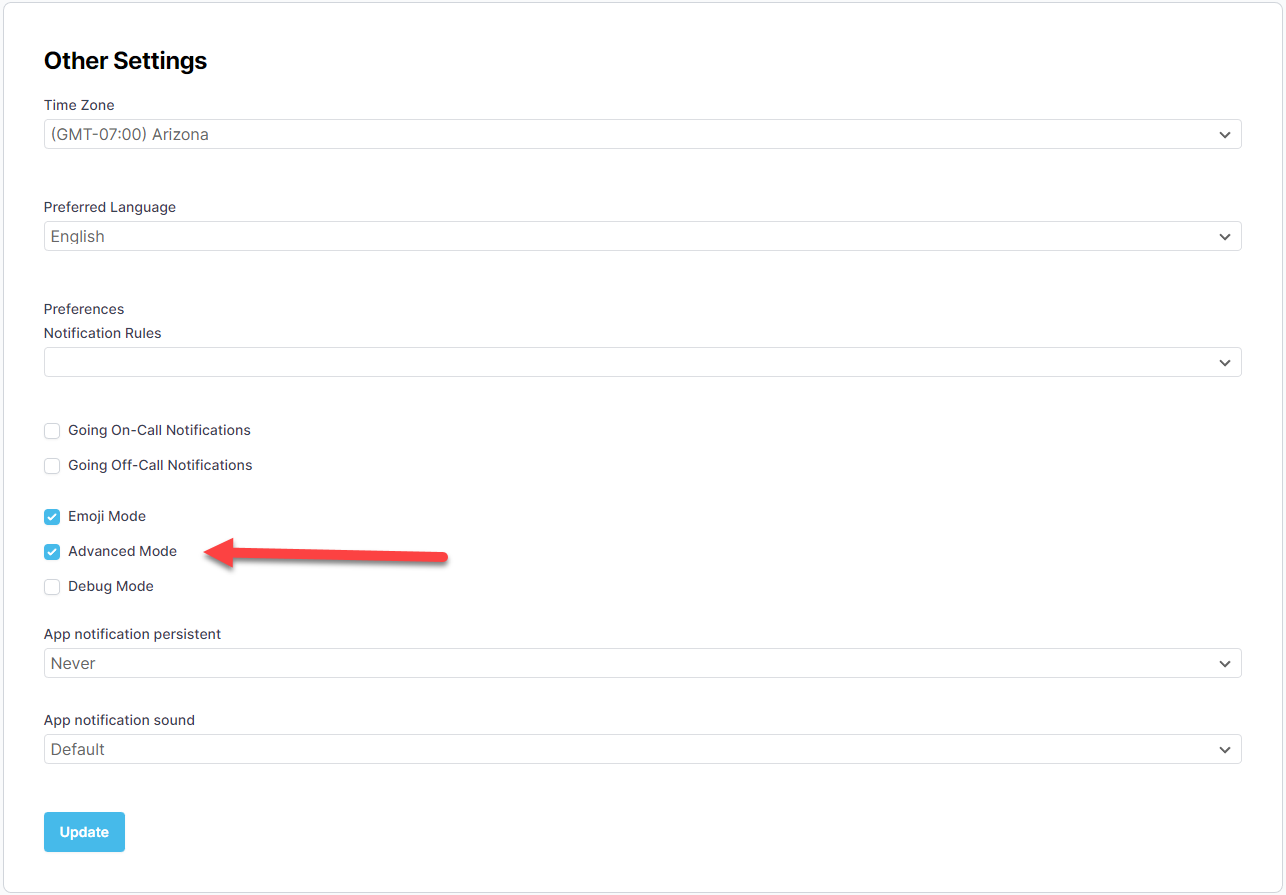
Advanced Mode Checkbox
-
Click Update.
You should now see the advanced options in the navigation menu.
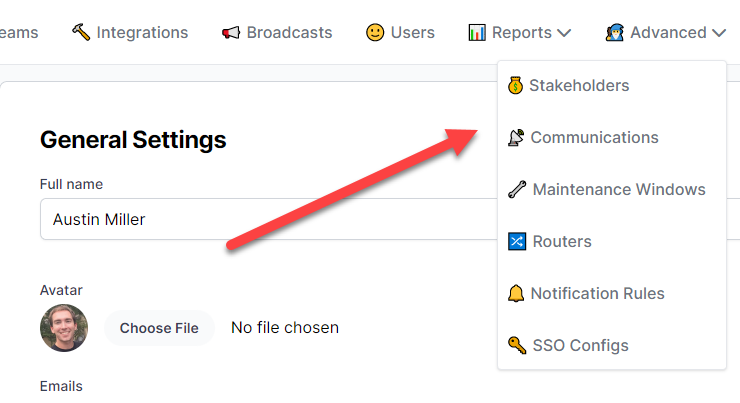
Advanced options in the menu bar.
Emails
- A user can have 1 or more emails.
- An email address must be deliverable.
- Email addresses that bounce, report a spam complaint, or are not deliverable will be blocked and receive no further notifications.
Phone Numbers
- A user can have 1 or more phones.
- A phone must be verified before PagerTree will begin sending notifications.
Phone Verification
-
Navigate to the My Settings Page.
-
Input your mobile phone number and choose a verification channel.
-
Click Update.

Phone Input Form
-
Click Verify.
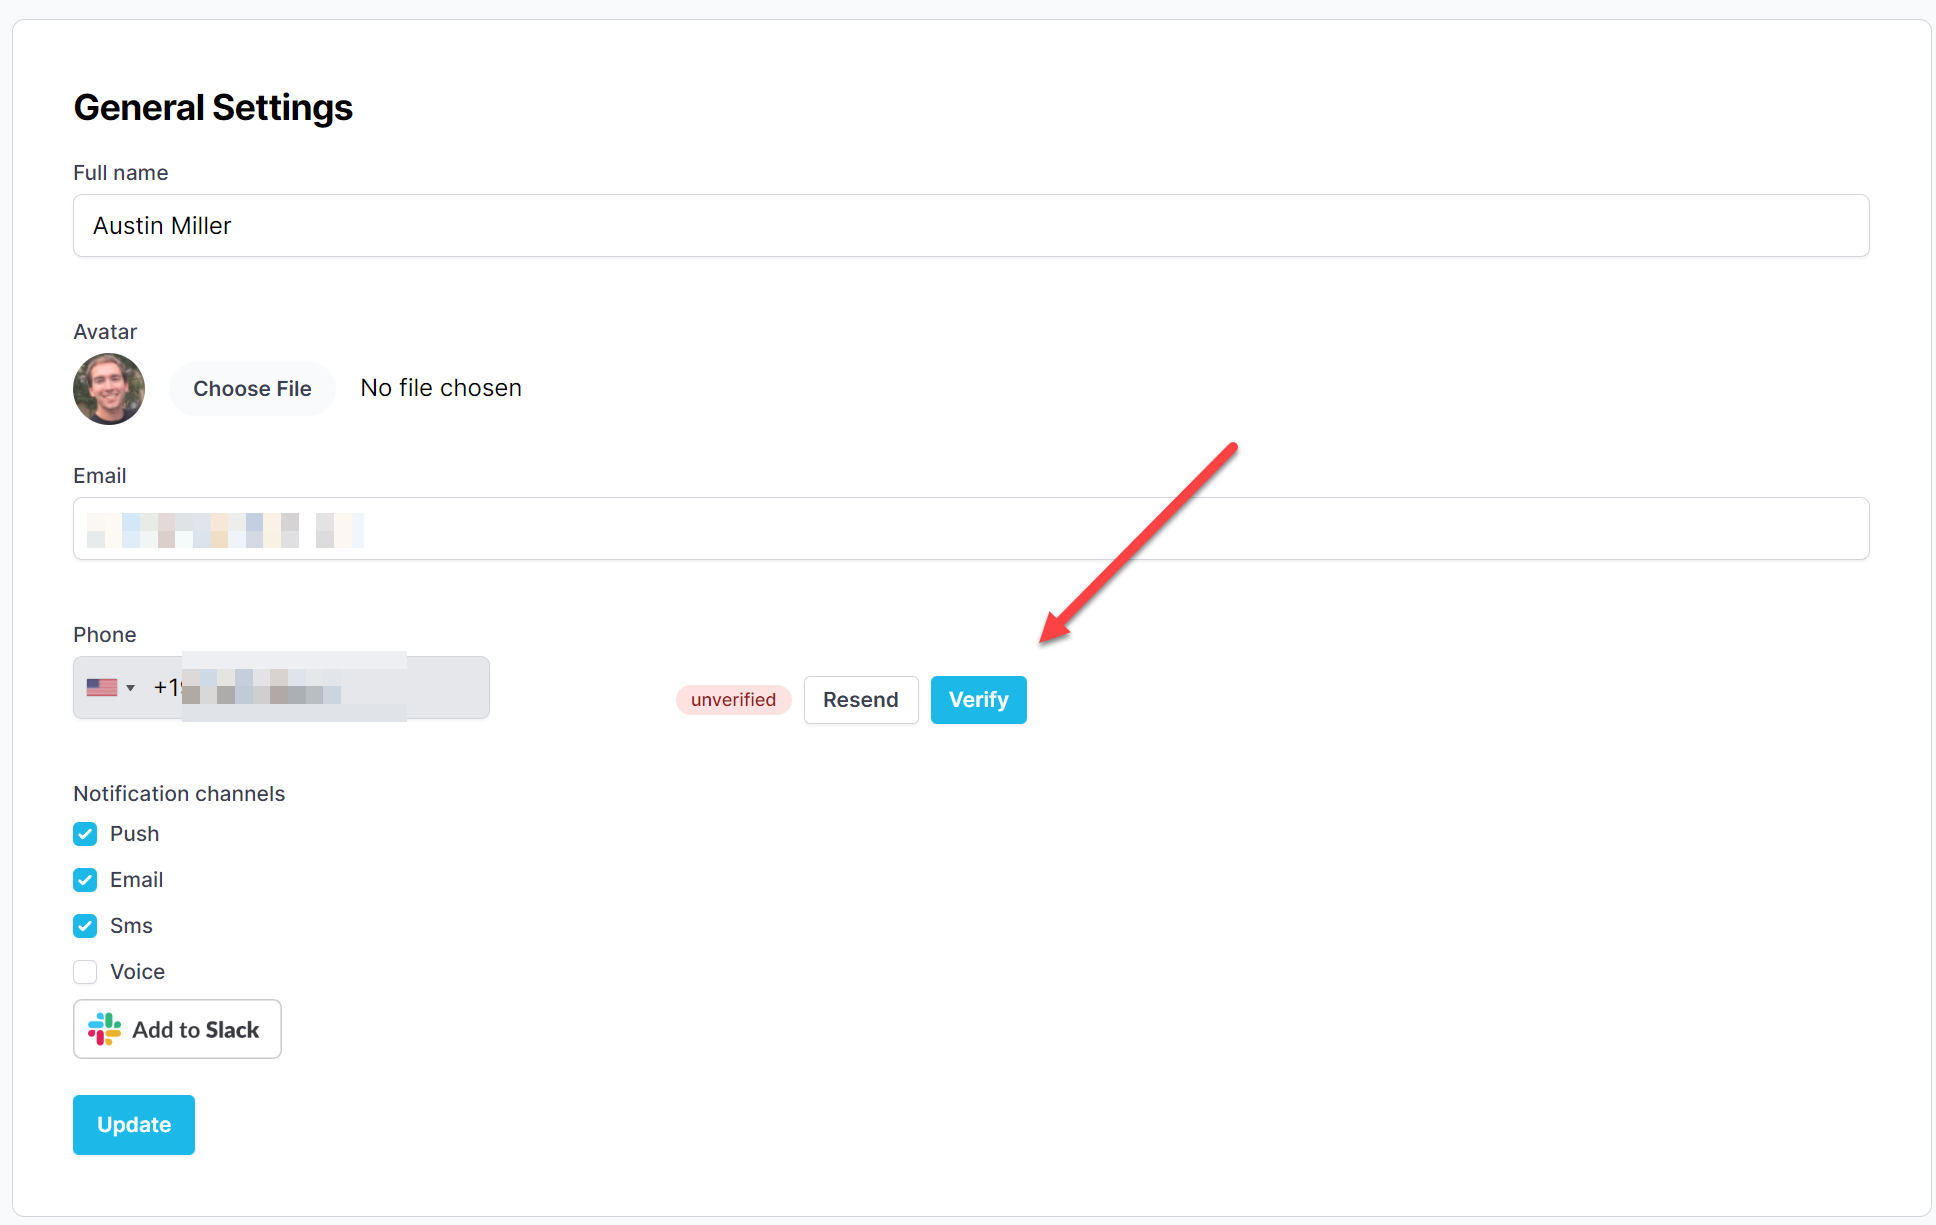
Phone Verify Button
-
Input your verification code and click Update.
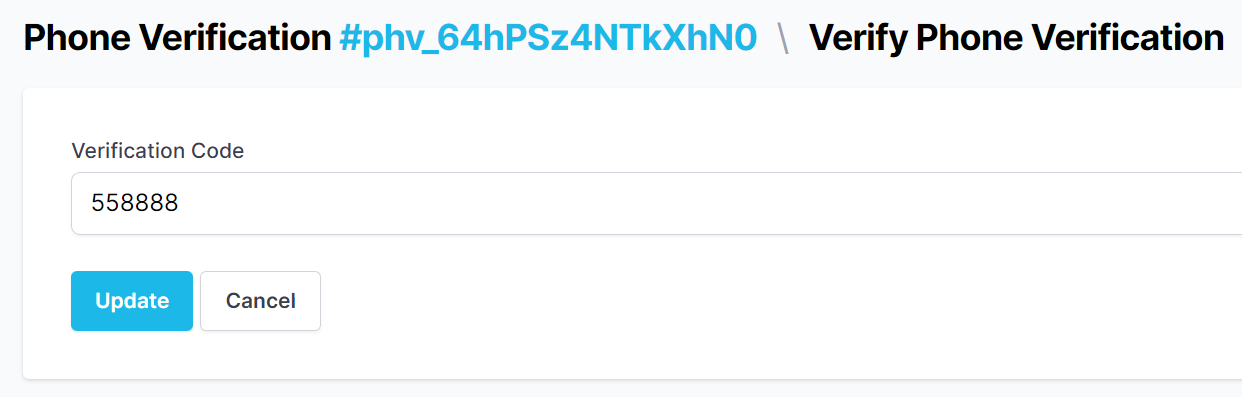
Phone Verification Form
be redirected. If successful, you will be redirected to the My Settings page with the message "Phone verified successfully".
Notifications
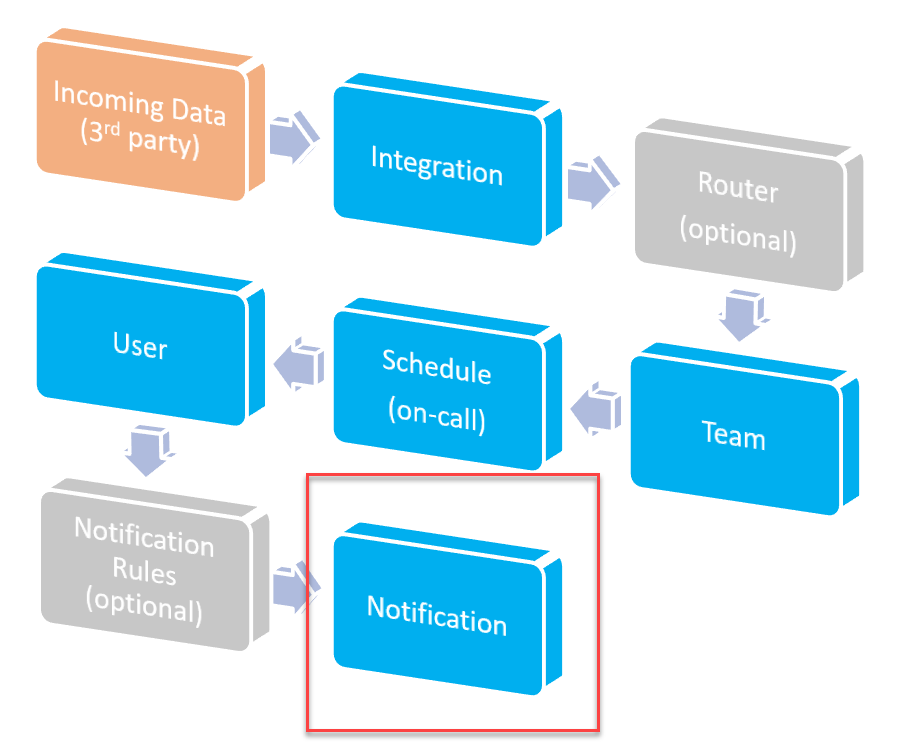
High Level Alert Workflow (Notifications)
Default Notification Channels
User's can elect from the following default notification channels:
- Push (app notification)
- SMS (text message)
- Voice (automated call)
- WhatsApp (text message)
- Slack
Voice notifications only apply to the alert open message.
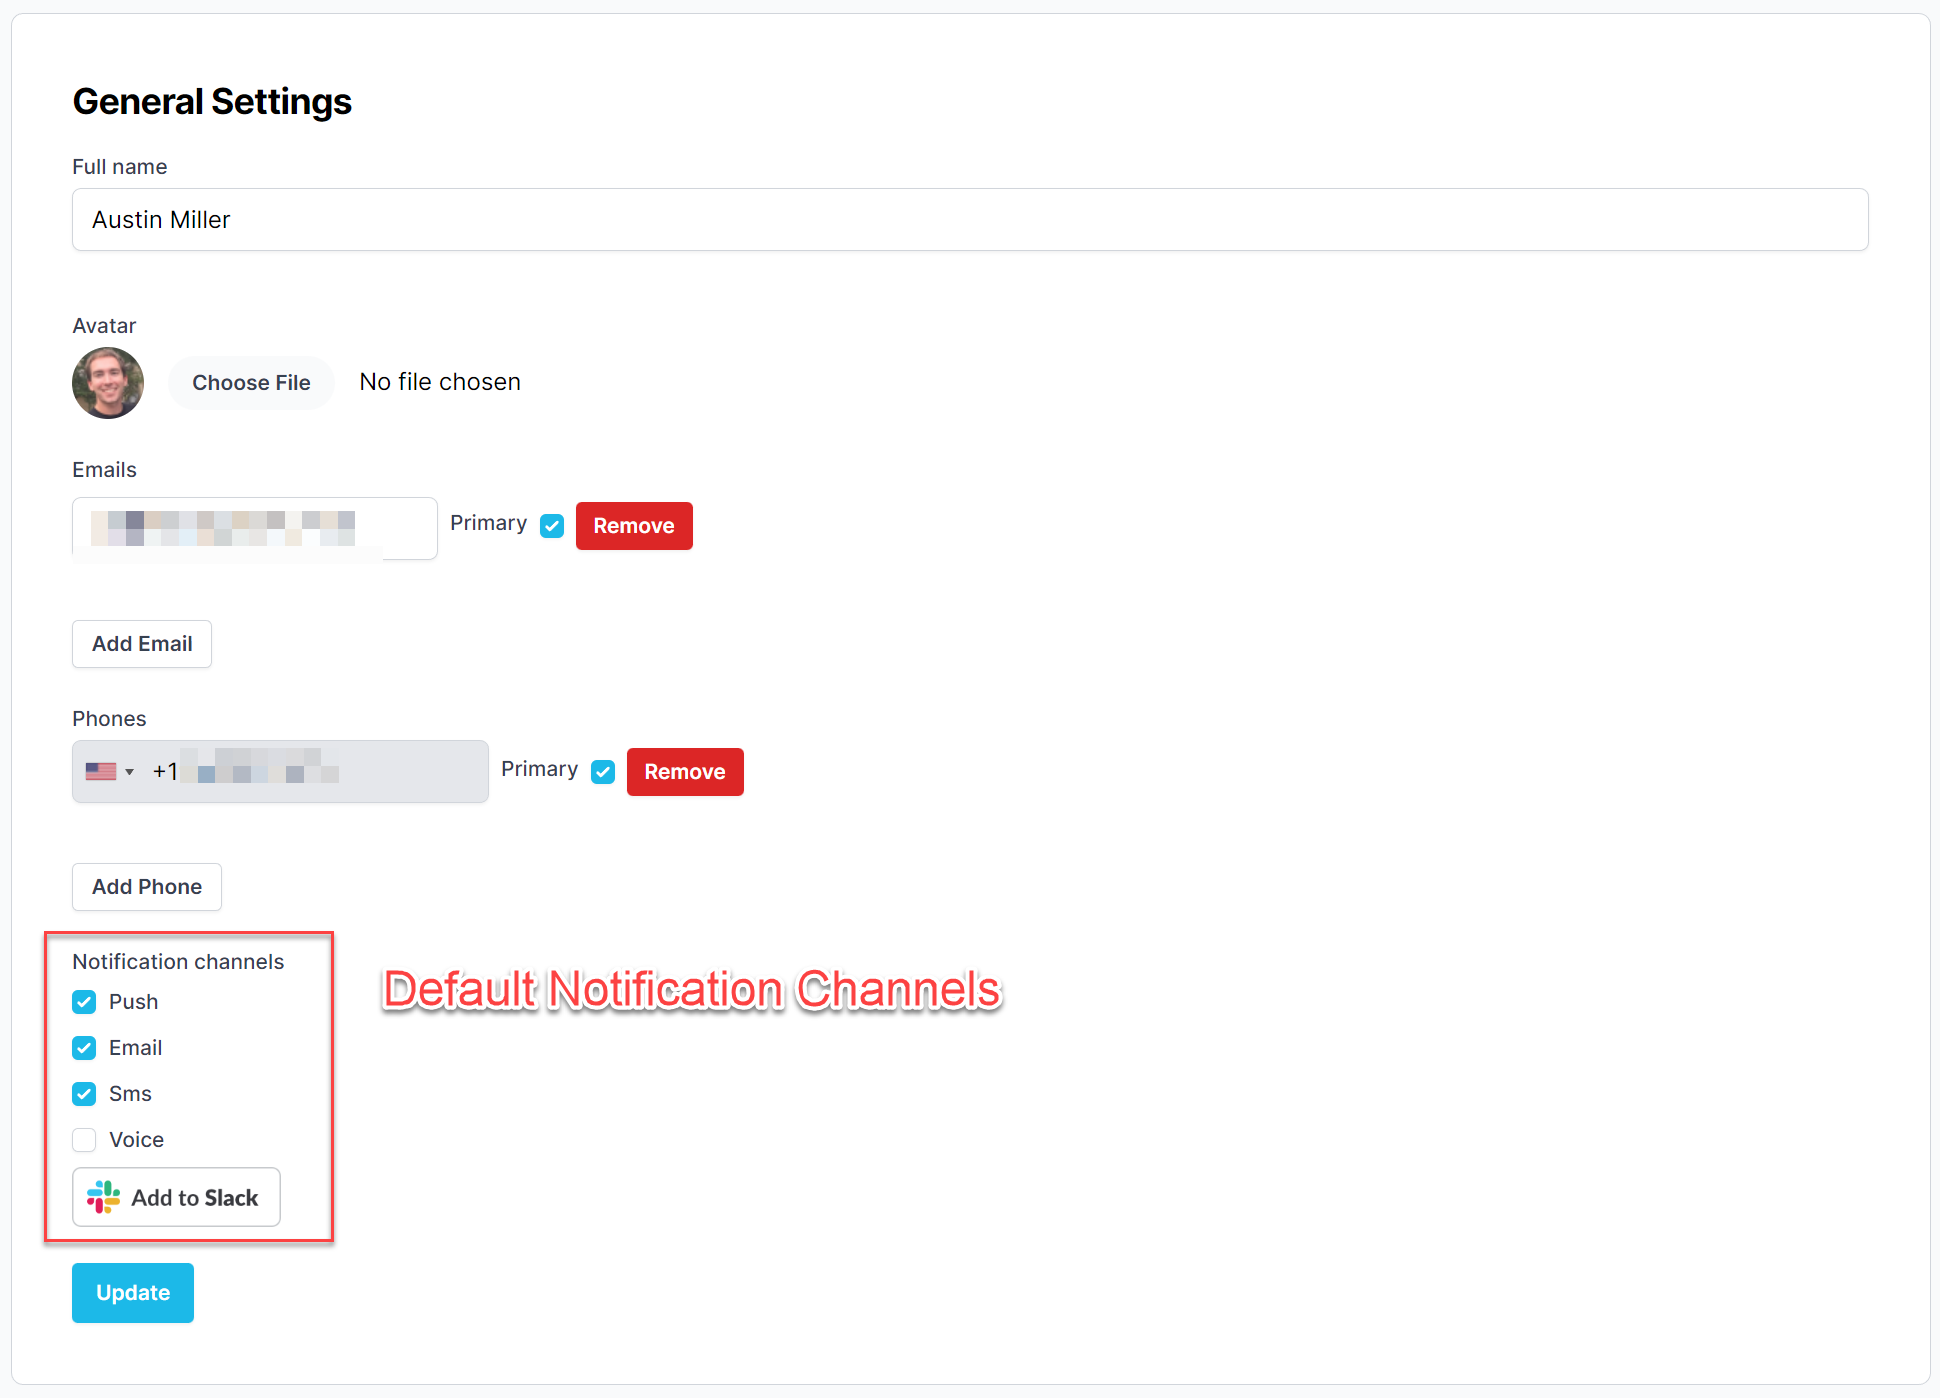
Default notification channels.
Notification Rules
Notification rules allow custom notification sequences to be built for the alert open message. Please see the notification rules documentation for full details.
Going On-Call Notifications
Users can elect to get going on-call reminder notifications a configurable amount of time before their on-call shift starts. Additionally, users can specify which layers they would like to be reminded about (leave blank for all).
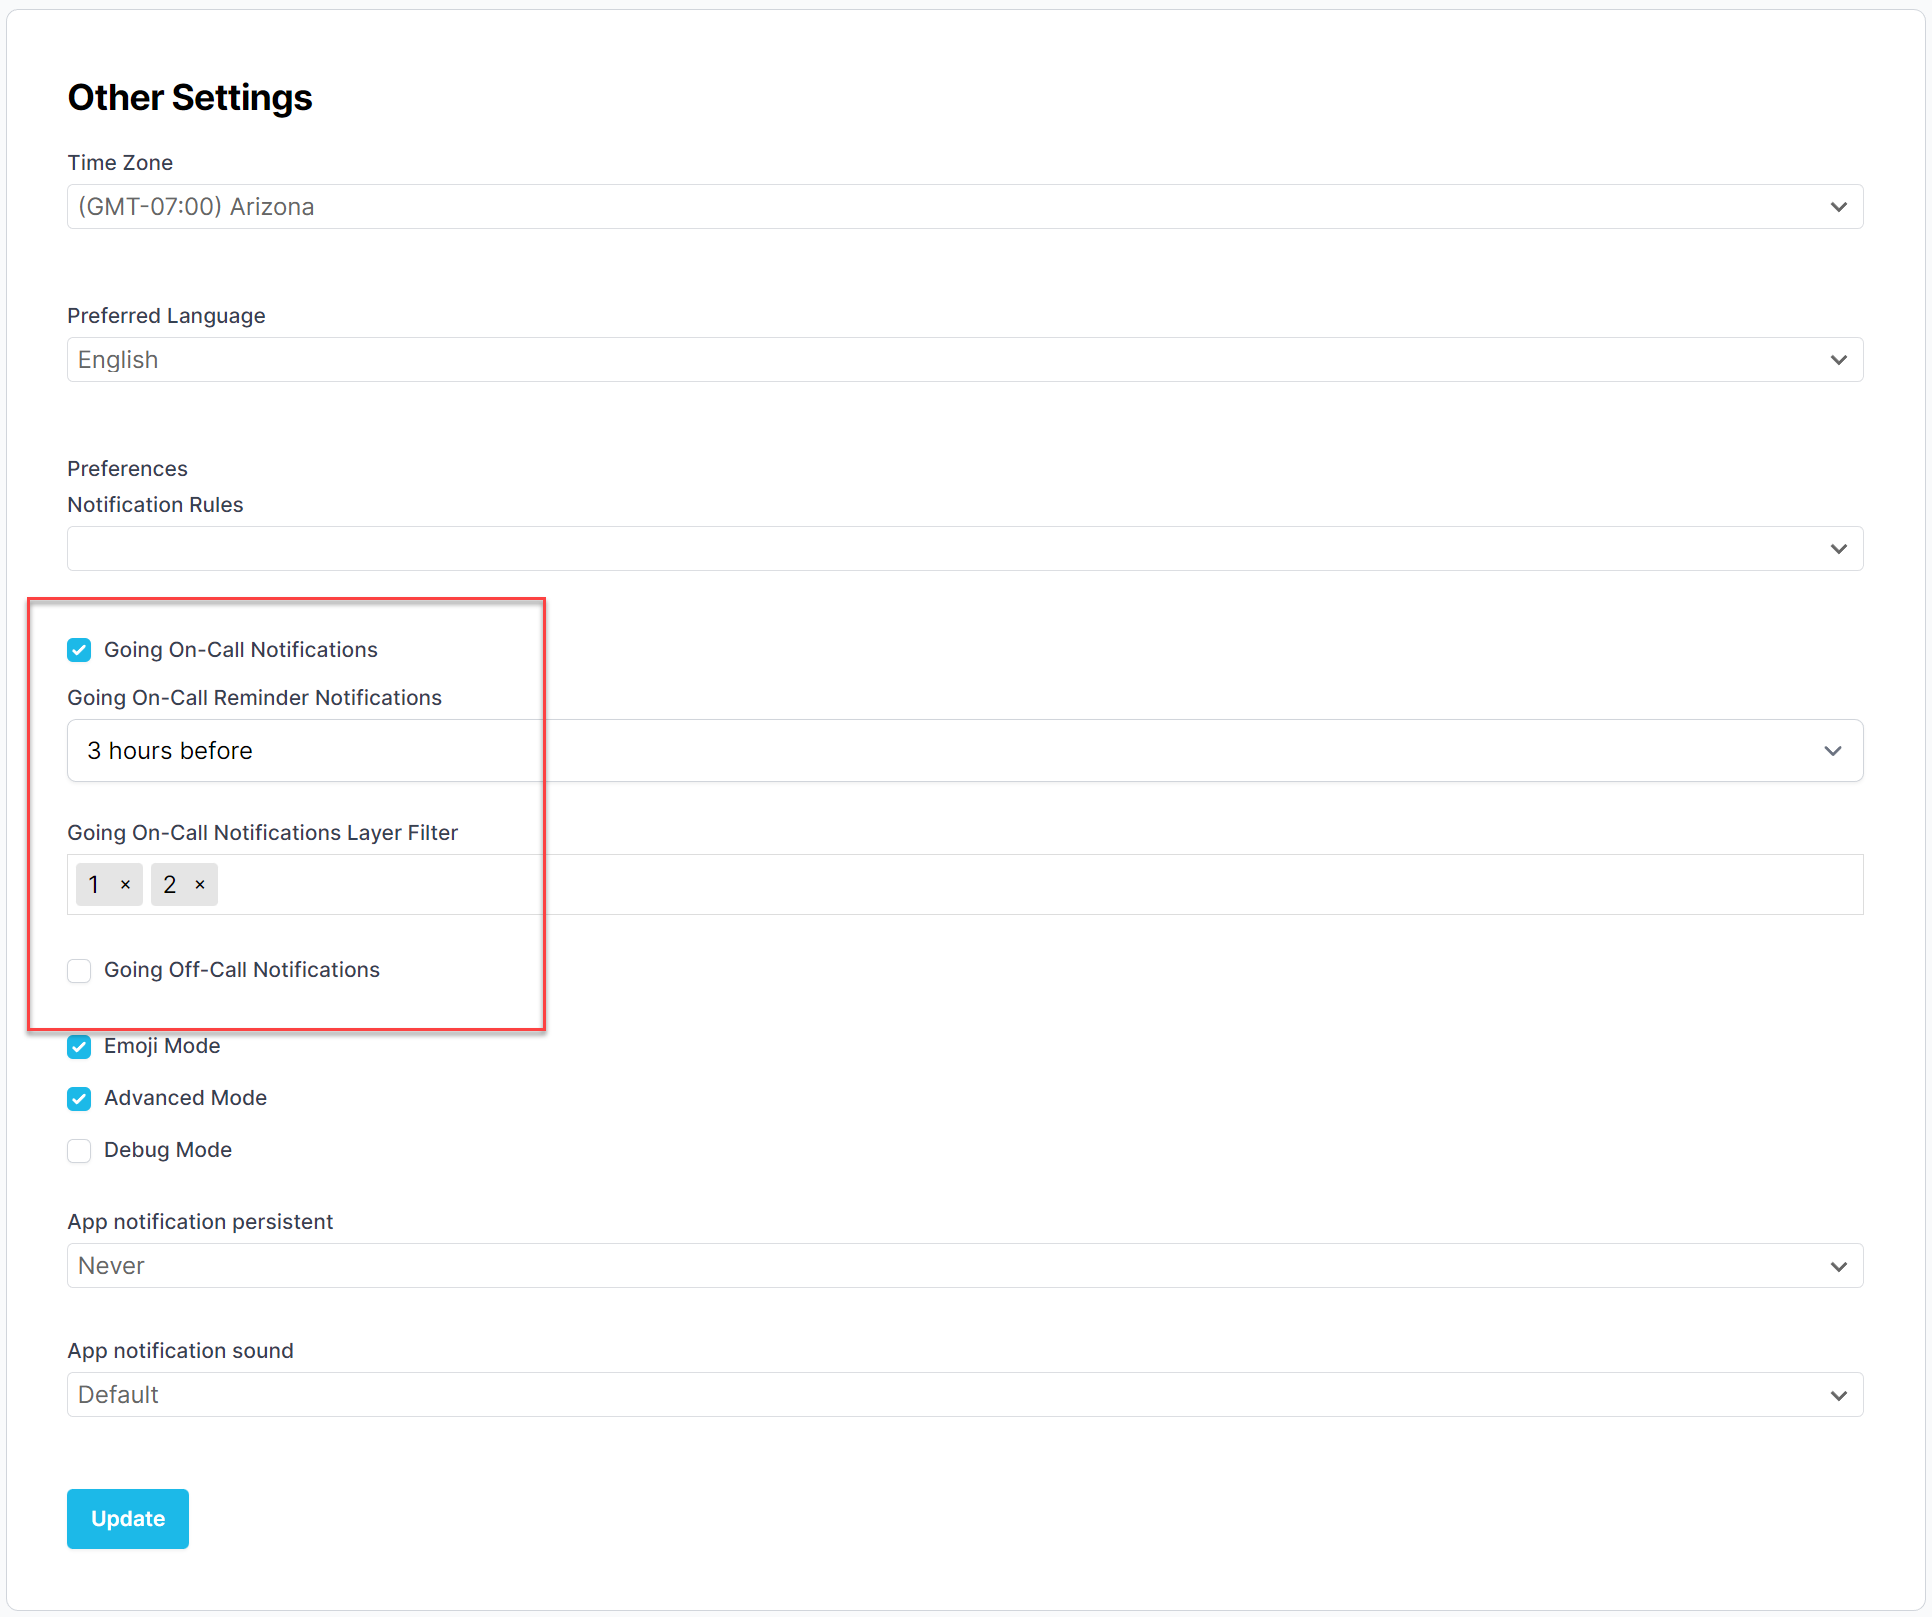
Going On-Call Notifications
API Tokens
Users can use API Tokens to access the PagerTree API. API Tokens are scoped to the account.
Create an API Token
-
Scroll to the "API Tokens" section.
-
Click the New API Token button.
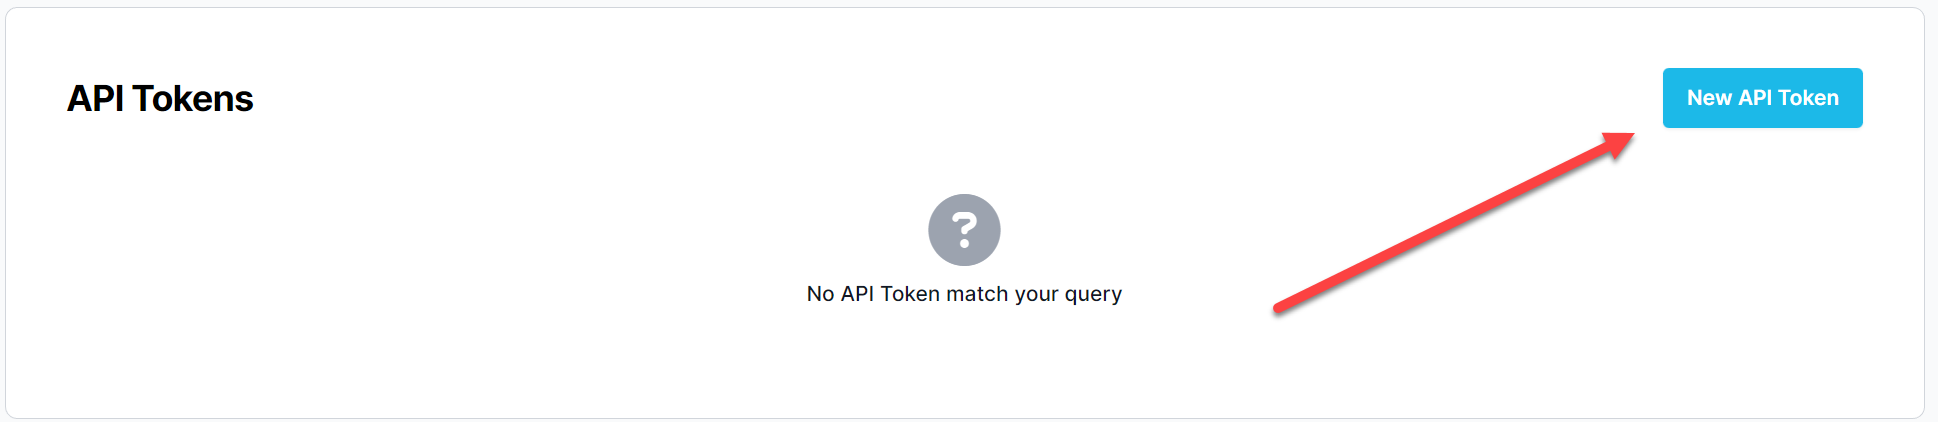
New API Token Button
-
Provide a Name and click Create button.
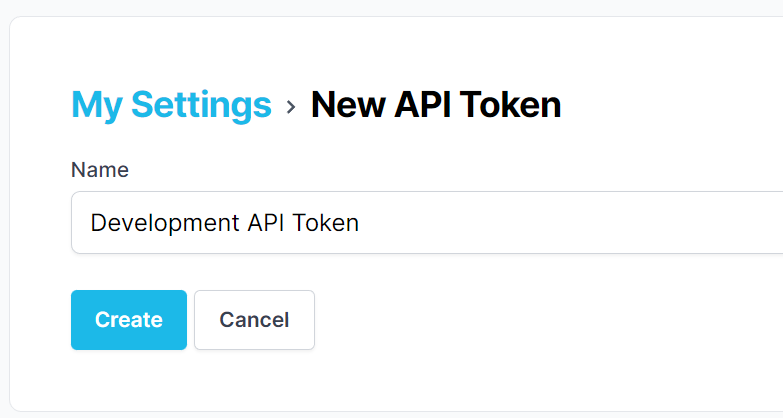
API Token Form
-
Copy your Token.
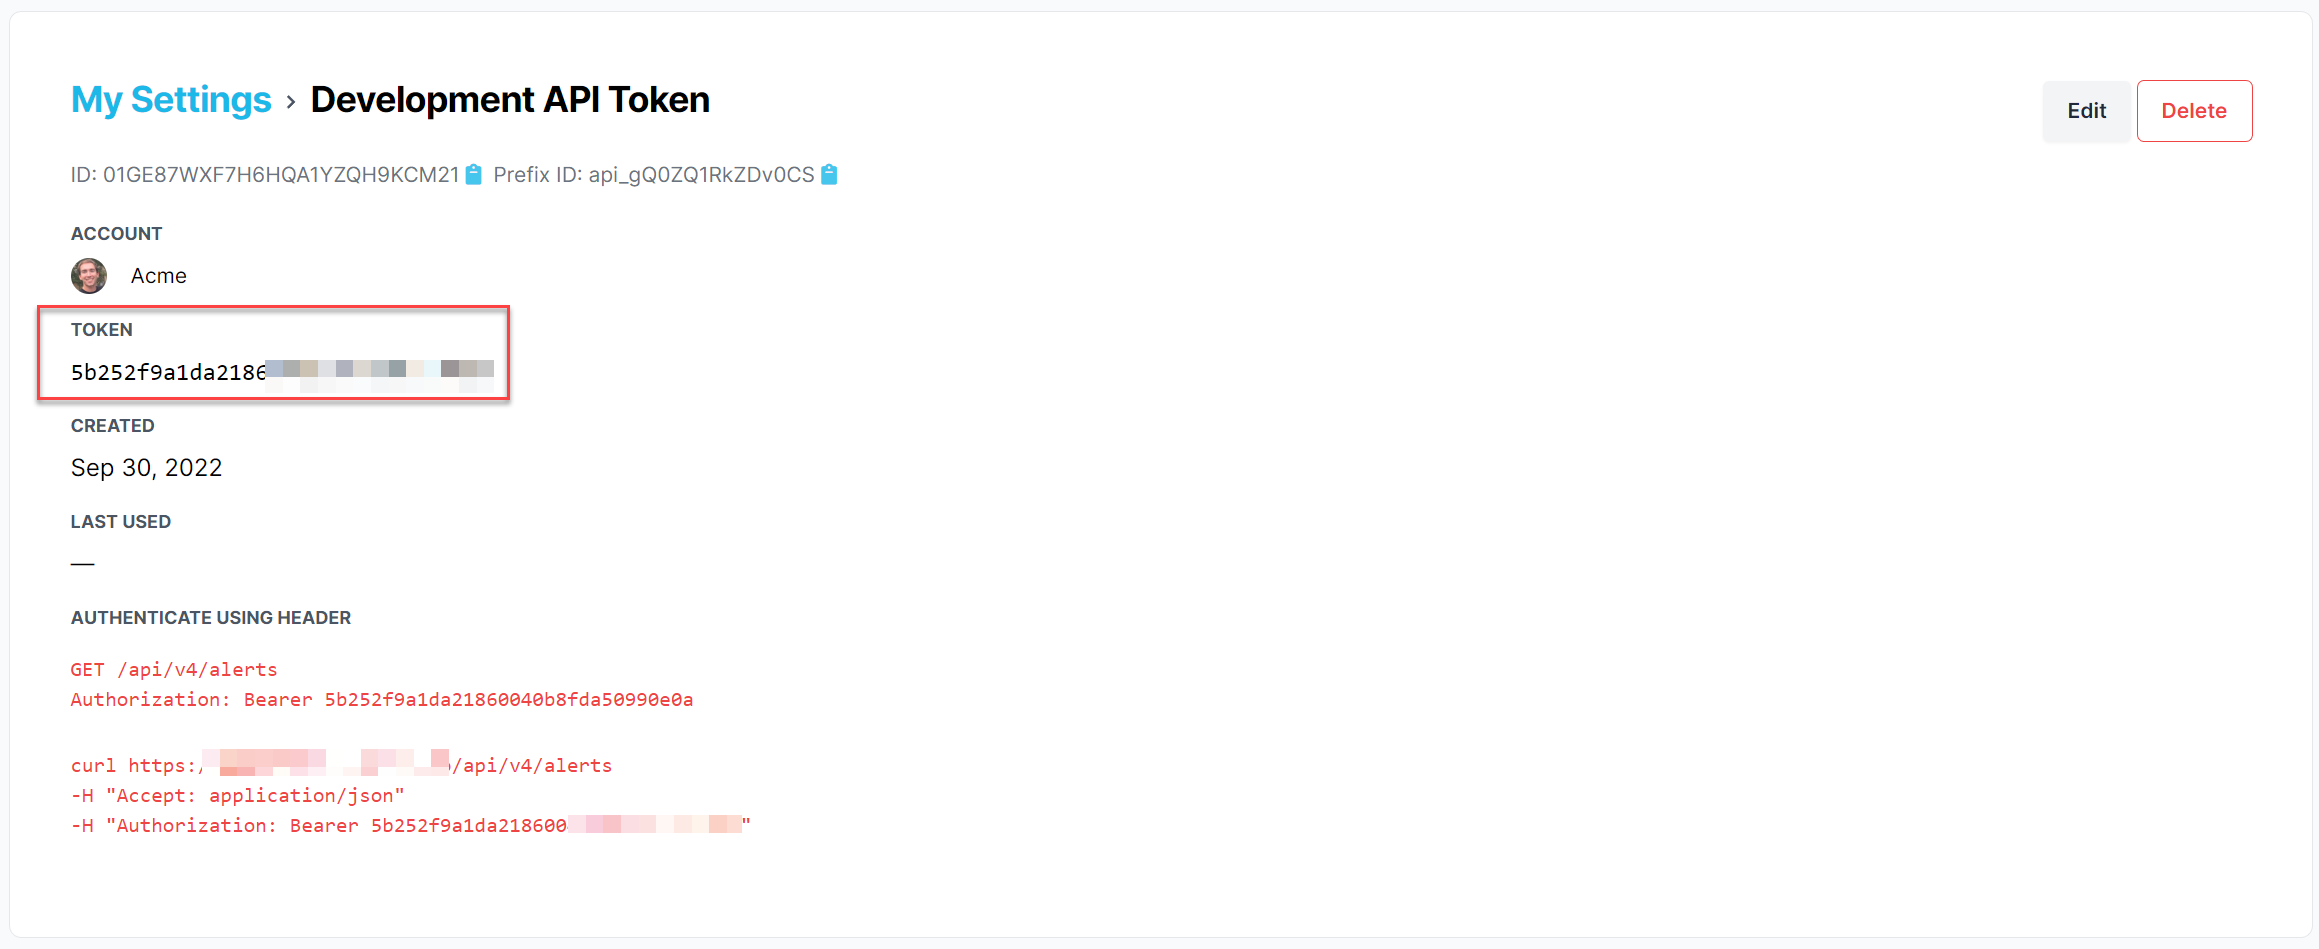
Copy your API token.
You can now use your API Token to access the PagerTree API. Check out the API docs for full documentation.
Security
All of the following security options can be found from the My Settings Page.
Two Factor Authentication
PagerTree supports two factor authentication (2FA). To enable two factor authentication:
-
Scroll to the "Two-factor Authentication" section.
-
Click the Enable two-factor authentication button.
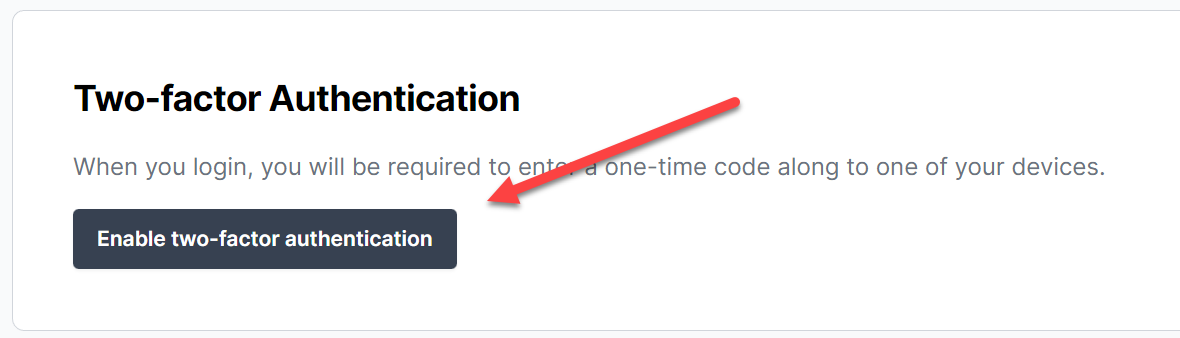
Enable Two Factor Authentication Button
-
Copy the recovery codes and store them somewhere secure.
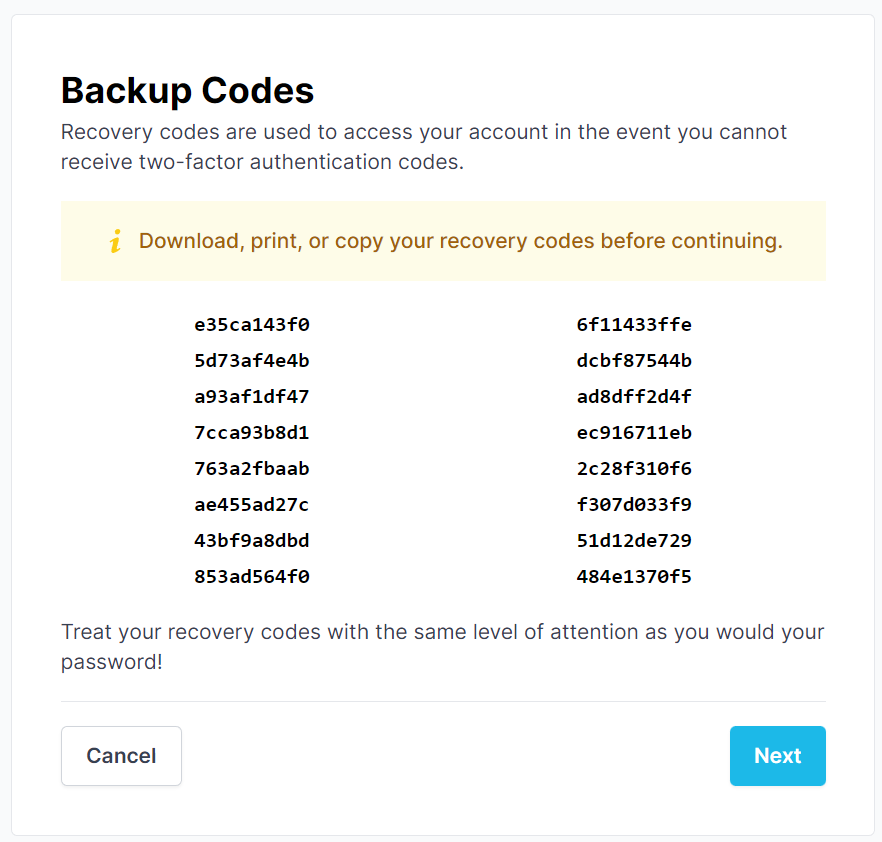
Copy the 2FA backup codes and store somewhere secure.
-
With your 2FA app, scan the bar code and enter the six digit code.
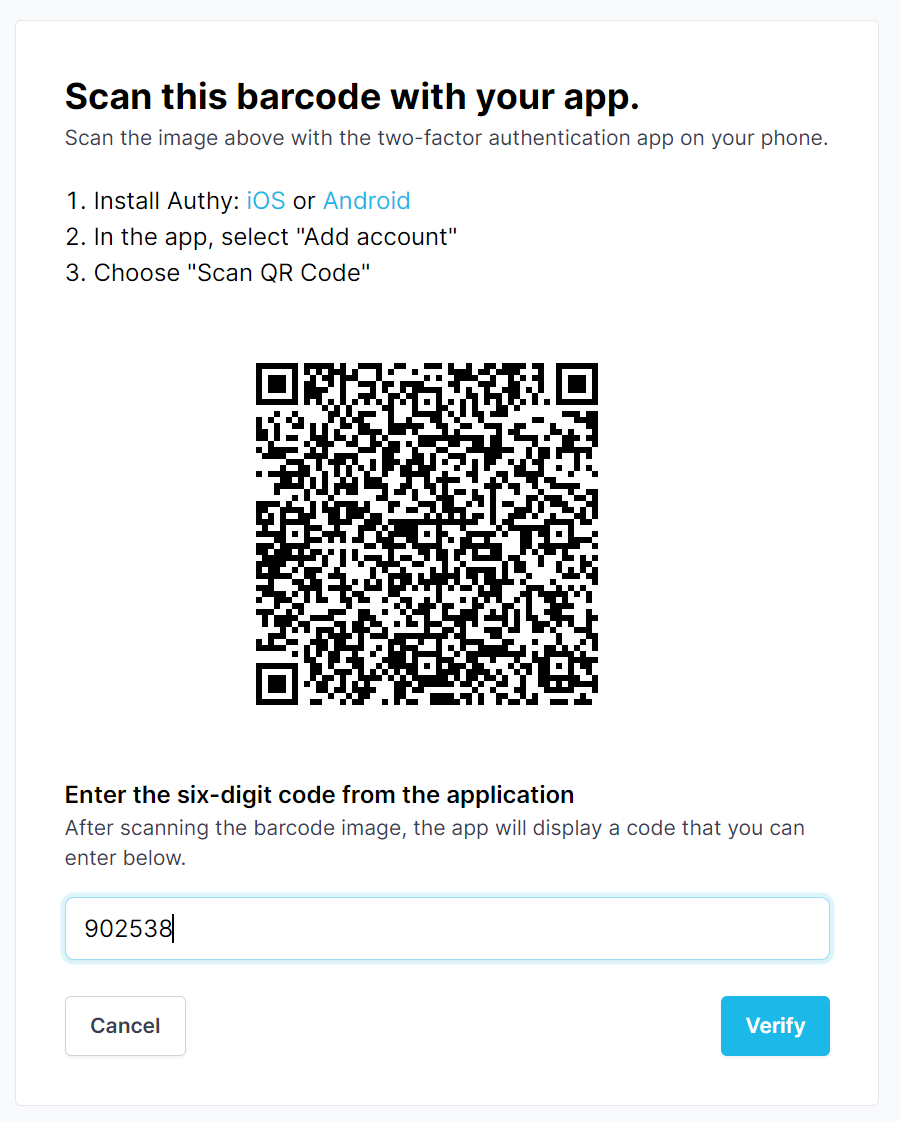
2FA QR Code
-
If successful, you will be redirected the the My Settings page with a notice stating "Two-factor authentication was enabled successfully".
You will now be required to use 2FA when logging in.
Single Sign-On
If a user is part of an account that is using Single Sign-On (SSO), they will be required to sign in via SSO to access the account.
Only account users that have the admin role can bypass the SSO login for SSO enabled accounts.
For instructions on how to configure SSO for an account, please see SSO docs.
Reset Password
To reset your password you will need to know your current password. If you have forgotten your current password, please see forgot-password documentation.
-
Scroll to the "Password Settings" section.
-
On the "Password Settings" Form
- Provide your current password
- Provide a new password
- Confirm your new password
-
Click Update.
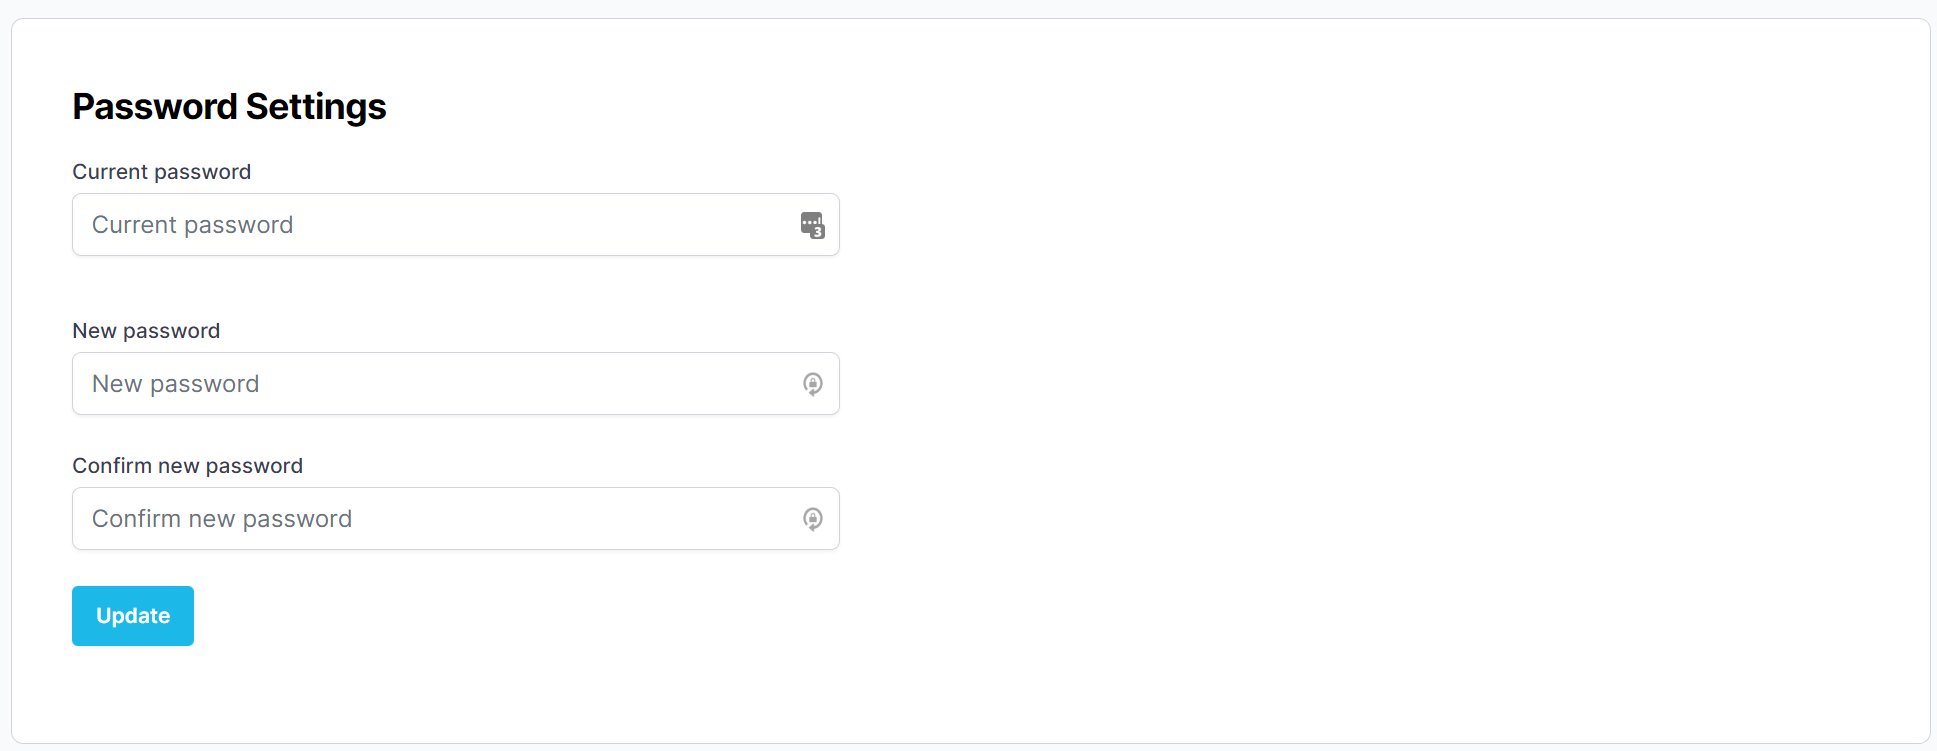
Reset Password Form.
Forgot Password
If you have forgotten your password, you can reset it from the application forgot password page.