💎 Getting Started With Ruby on Rails in 2024 - The Complete Development Environment Guide

What is Ruby on Rails?
Ruby on Rails is a web development framework written in Ruby that helps developers build websites and applications quickly. It uses an MVC (Model-View-Controller) structure to organize code and make everyday tasks easier by following simple patterns instead of complex configurations. Rails also helps with database management and includes security features to protect against common threats. It's famous for building websites and apps, especially for startups, and powers well-known platforms like GitHub and Shopify.
This blog post will walk you through 10 simple steps to get your Ruby on Rails development environment up and running while providing additional resources to help you with your Ruby on Rails journey.
Ruby on Rails Setup Video
Ruby on Rails Development Environment Overview
Setting up your Ruby on Rails development environment will take roughly 30 minutes from start to finish.
Ruby on Rails Development Environment Setup Steps:
Step 1: Enable WSL (Windows Users Only)
Step 2: Install Ubuntu (Windows Users Only)
Step 3: Update the Package List and Dependencies for Ruby
Step 4: Install the asdf Version Manager
Step 10: Get Your Rails App Running
Step 1: Enable WSL (Windows Users Only)
Enabling WSL will allow us to install and run Ubuntu. Ubuntu is a Linux distribution that is considered one of the easiest to use and has a lot of documentation, making it a good choice for setting up a Ruby on Rails development environment. Most of the code written with Ruby on Rails will run on a Linux server, so using Ubuntu can help ensure the development environment matches the production server.
1.1 To enable WSL within our Windows system, we will navigate to the Windows search console and type “Turn Windows features on or off.” Select the Turn Windows features on or off option.
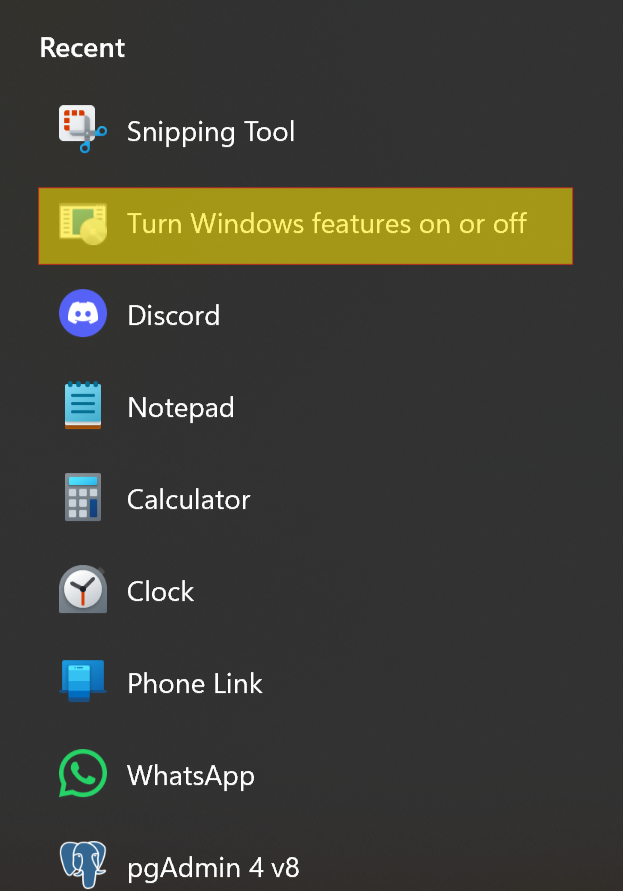
Turn Windows features on or off.
1.2 Within this window, you will scroll down until you find “Windows Subsystem for Linux.” Check the box on the left side to ensure this feature is enabled.
-24d8166bab49ee2d0848dbff1f46da13.png)
Enable Windows Subsystem for Linux
1.3 Once you have enabled WSL, Windows will download the required dependencies. Upon completion, you will be prompted to restart your computer. Restart your computer at this time.
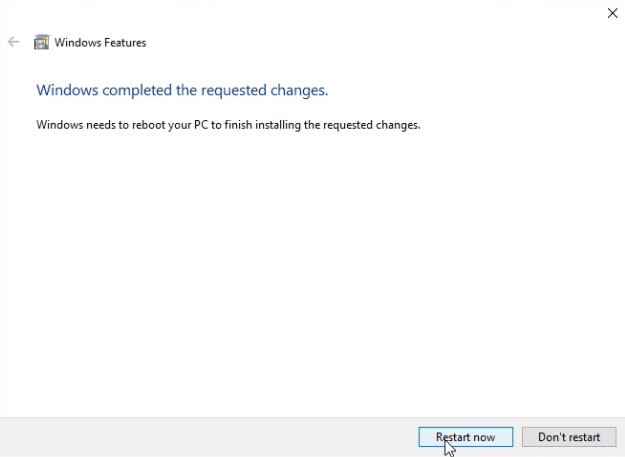
WSL Computer Restart
Step 2: Install Ubuntu (Windows Users Only)
Downloading Ubuntu from the Microsoft Store is a convenient way to run Ubuntu on your Windows machine without the need for dual-booting or using virtual machines. It runs through the Windows Subsystem for Linux (WSL), which allows you to use a complete Ubuntu terminal environment inside Windows.
2.1 Navigate to the Microsoft Store through the Windows Search console or click here. Then, search for Ubuntu LTS.
DO NOT install the generic "Ubuntu" app. Please install an LTS version. The generic version runs as root. We need an LTS version with the proper user, role, and permissions.
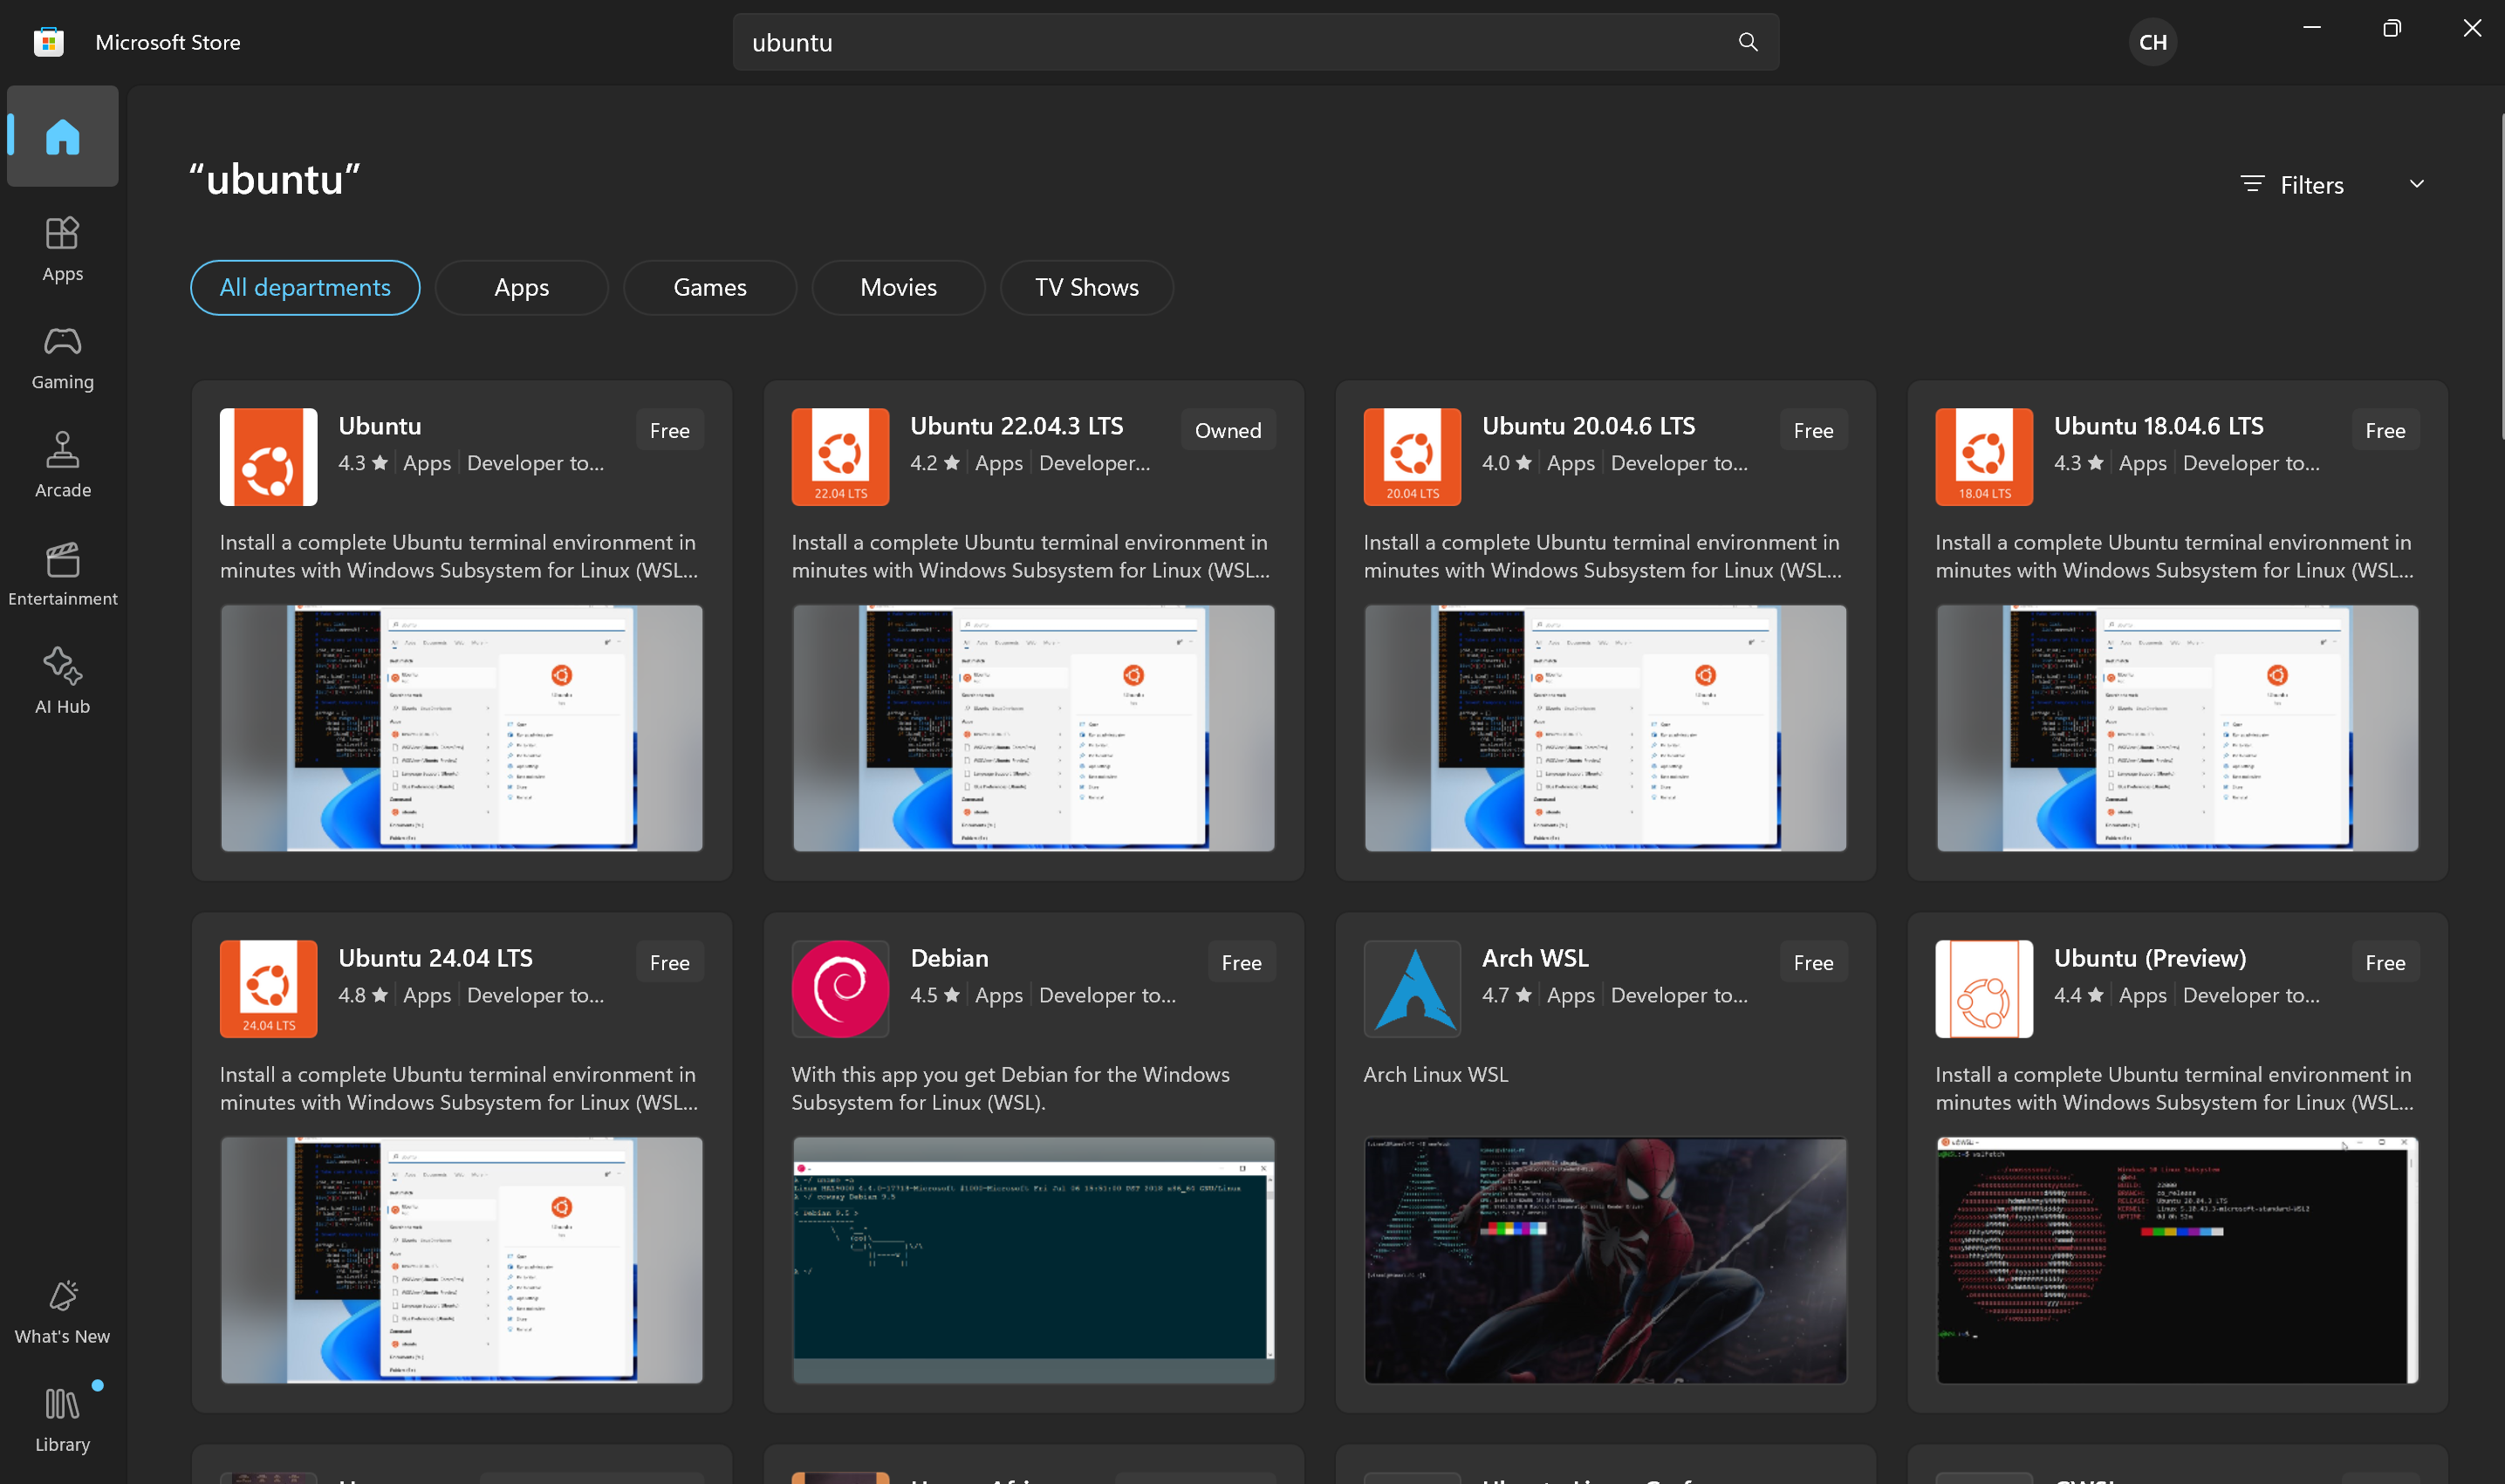
Microsoft Store Ubuntu
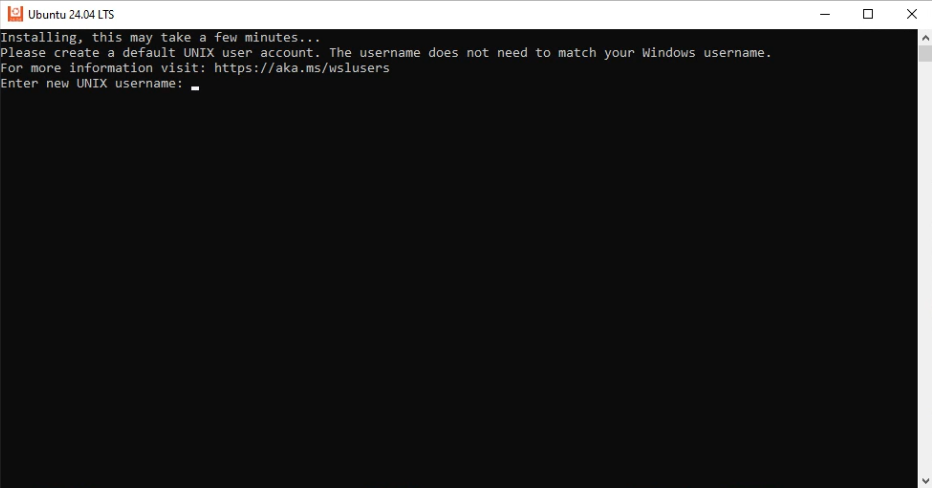
2.2 Download the latest version of Ubuntu LTS. Once downloaded, open your Ubuntu terminal and allow Ubuntu to complete the installation. This may take a few minutes to complete.

Ubuntu Install
2.3 Enter a username and password for your Ubuntu installation.
Ubuntu Setup
Step 3: Update the Package List and Dependencies for Ruby
To get started with your Ruby install, we will install all the required dependencies for compiling Ruby within a Linux system. We will update the software packages using the Advanced Packaging Tool (APT) that are already in our terminal.
3.1 Open your Ubuntu terminal and run the following command to update your package list:
sudo apt-get update
3.2 Now run the following command to download all the required Ruby dependencies.
sudo apt install git curl libssl-dev libreadline-dev zlib1g-dev autoconf bison build-essential libyaml-dev libreadline-dev libncurses5-dev libffi-dev libgdbm-dev
Step 4: Install the asdf Version Manager
Asdf is a Runtime Version Manager that manages multiple runtime versions within a single tool. We utilize asdf for Ruby on Rails to manage both Ruby and Node.js versions.
4.1 Install the asdf version manager by running the following commands in your Ubuntu terminal. Run each command separately.
git clone https://github.com/asdf-vm/asdf.git ~/.asdf --branch v0.14.1

echo '. "$HOME/.asdf/asdf.sh"' >> ~/.bashrc
echo '. "$HOME/.asdf/completions/asdf.bash"' >> ~/.bashrc
echo 'legacy_version_file = yes' >> ~/.asdfrc
echo 'export EDITOR="code --wait"' >> ~/.bashrc

exec $SHELL
4.2 Add the Ruby and Node.js plugins by running the following commands in your Ubuntu Terminal. Run each command separately.
asdf plugin add ruby
asdf plugin add nodejs
Step 5: Install Ruby
Ruby is the programming language used to build the framework. It’s known for being easy to read and write, which helps developers work quickly and efficiently. Ruby’s flexibility and simple syntax make it an excellent choice for web development, allowing you to build robust applications with less code. Rails uses Ruby to make web development faster and more intuitive.
5.1 To install Ruby, we will first check for the most recent version by running the following command:
asdf lastest ruby
This will list the latest stable version of Ruby. We recommended the most recent version.
5.2 Install your chosen version of Ruby with the following command:
asdf install ruby 3.3.4
# replace 3.3.4 with the version you wish to use.
5.3 Set your selected version as your default.
asdf global ruby 3.3.4
5.4 Confirm your Ruby version
which ruby

ruby -v
Step 6: Install Node.js
Node.js is needed in a Ruby on Rails environment to handle front-end JavaScript tasks. While Ruby on Rails manages the backend, Node.js is commonly used to process and bundle JavaScript assets (like React, Vue.js, or Angular components), manage package dependencies with npm (Node Package Manager), and run tools like Webpack or Babel to optimize front-end code.
6.1 To install Node.js, we will first check for the most recent version by running the following command:
asdf latest nodejs
This will list the latest stable version of Node.js.
6.2 Install your selected version of Node.js with the following command:
asdf install nodejs 20.15.1
6.3 Set your selected version as your default.
asdf global nodejs 20.15.1
6.4 Confirm your Node.js version
which node

node -v
6.5 Install yarn (javascript package manager)
npm install -g yarn
Step 7: Configure Git
Git is a standard tool in the software development industry for version control. We will set up our Ruby on Rails development environment to utilize Git as our version control.
7.1 Create an account on GitHub.

GitHub Login
7.2 Configure your Git by running the following commands in your Ubuntu terminal:
git config --global color.ui true
# Git fully supports colored terminal output, which greatly aids in visually parsing command output quickly and easily. A number of options can help you set the coloring to your preference.

git config --global user.name "YOUR NAME"
# Utilize the username used for your Github Account

git config --global user.email "YOUR@EMAIL.com"
# Utilize the email you used for your Github Account

ssh-keygen -t ed25519 -C "YOUR@EMAIL.com"
Run each command individually, replacing placeholders with your actual information.
7.3 Generate an SSH key with the following command:
cat ~/.ssh/id_ed25519.pub
7.4 Copy the previous command's output and paste it into your SSH keys in your GitHub account. SSH keys can be found in Settings > SSH and GPG Keys.
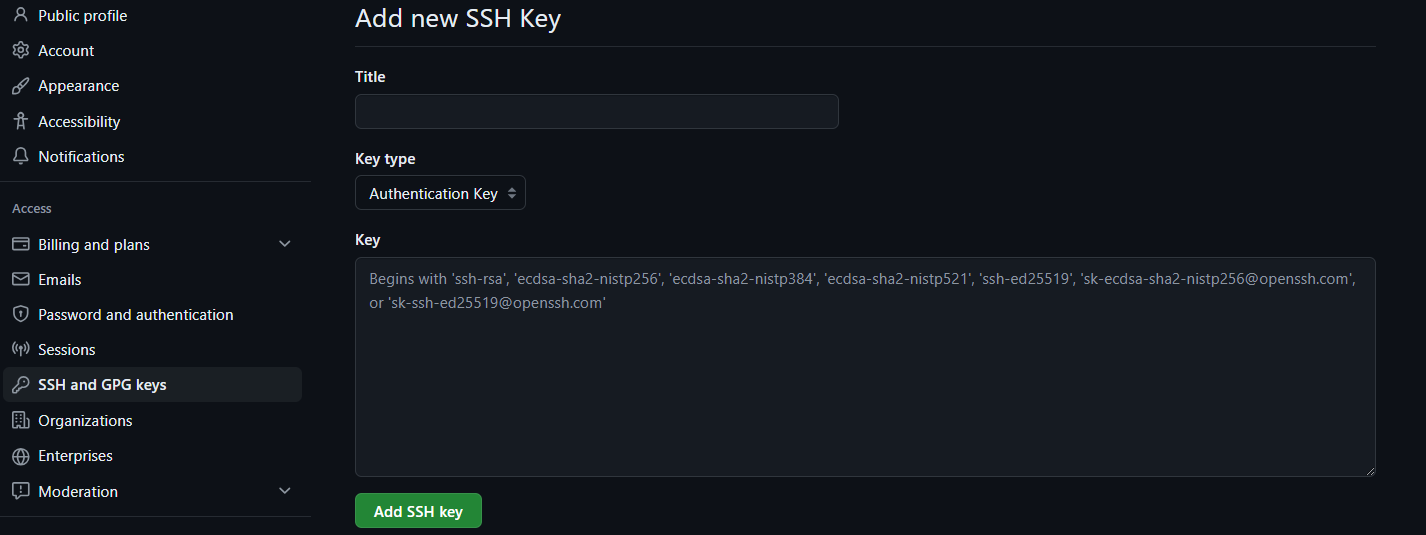
GitHub SSH Key
Click New SSH Key, give your SSH Key a title, and then paste the output from your previous command into the key section.
7.5 Confirm everything is working with the following command from your Ubuntu terminal:
ssh -T git@github.com
You should receive the following message:
Hi (username)! You've successfully authenticated, but GitHub does not provide shell access.
Step 8: Install Rails
Rails is a web application development framework written in Ruby. It is designed to make programming web applications easier by making assumptions about what every developer needs to get started.
8.1 Check for the newest version of Rails for your environment here.
8.2 Run the following command with the version you are downloading.
gem install rails -v 7.2.1
You can install the latest version of rails with: gem install rails without specifying a version. This will install the latest stable version of Rails.
8.3 Confirm your rails version with the following command:
rails -v
Step 9: Install PostgreSQL
PostgreSQL is a powerful, open-source database system that stores and manages data for applications. It's known for being reliable, secure, and supporting complex queries, making it a popular choice for web apps, analytics, and more. We will be setting up our Ruby on Rails Development Environment to utilize PostgreSQL.
9.1 Install PostgreSQL with the following command:
sudo apt install postgresql postgresql-contrib libpq-dev
9.2 Begin the Postgres service with the following command:
sudo service postgresql start
9.3 Create a user for your Postgres database with the following command:
sudo -u postgres createuser -s $(whoami) -P
# $(whoami) will ensure the current user is utilized to create the postgres user
9.4 Start PostgreSQL on bootup with the following command:
sudo systemctl enable postgresql
Optional Step: Install Redis
Redis is an open-source, in-memory data store used as a database, cache, and message broker. It is super fast and commonly used to store frequently accessed data, improving the performance of web applications by reducing the need to fetch data from a slower database. You can use Redis for caching in Rails or using Sidekiq background workers.
0.1 Install Redis with the following command:
sudo apt-get install redis
0.2 Start your Redis server with the following command:
sudo service redis-server start
0.3 Enable Redis to start on bootup.
sudo systemctl enable redis-server
Step 10: Get Your Rails App Running
Your Ruby on Rails development environment is almost complete. The last steps are to create your app, create your database, and get coding.
10.1 create your app using the following command:
rails new myapp -d postgresql
# replace myapp with whatever app name you would like.
10.2 Change directories to be in your newly created app with the following command:
cd myapp
# again, myapp will be whatever you named your project
10.3 Bundler (Ruby package manager) provides a consistent environment for Ruby projects by tracking and installing the needed gems and versions. Run the following command:
bundle install
10.4 Create a new database with the following command:
bin/rails db:create
bin/rails db:migrate
10.5 Start your rails server with the following command:
bin/rails server
Your app can now be viewed on http://localhost:3000 or by clicking the address in your terminal.
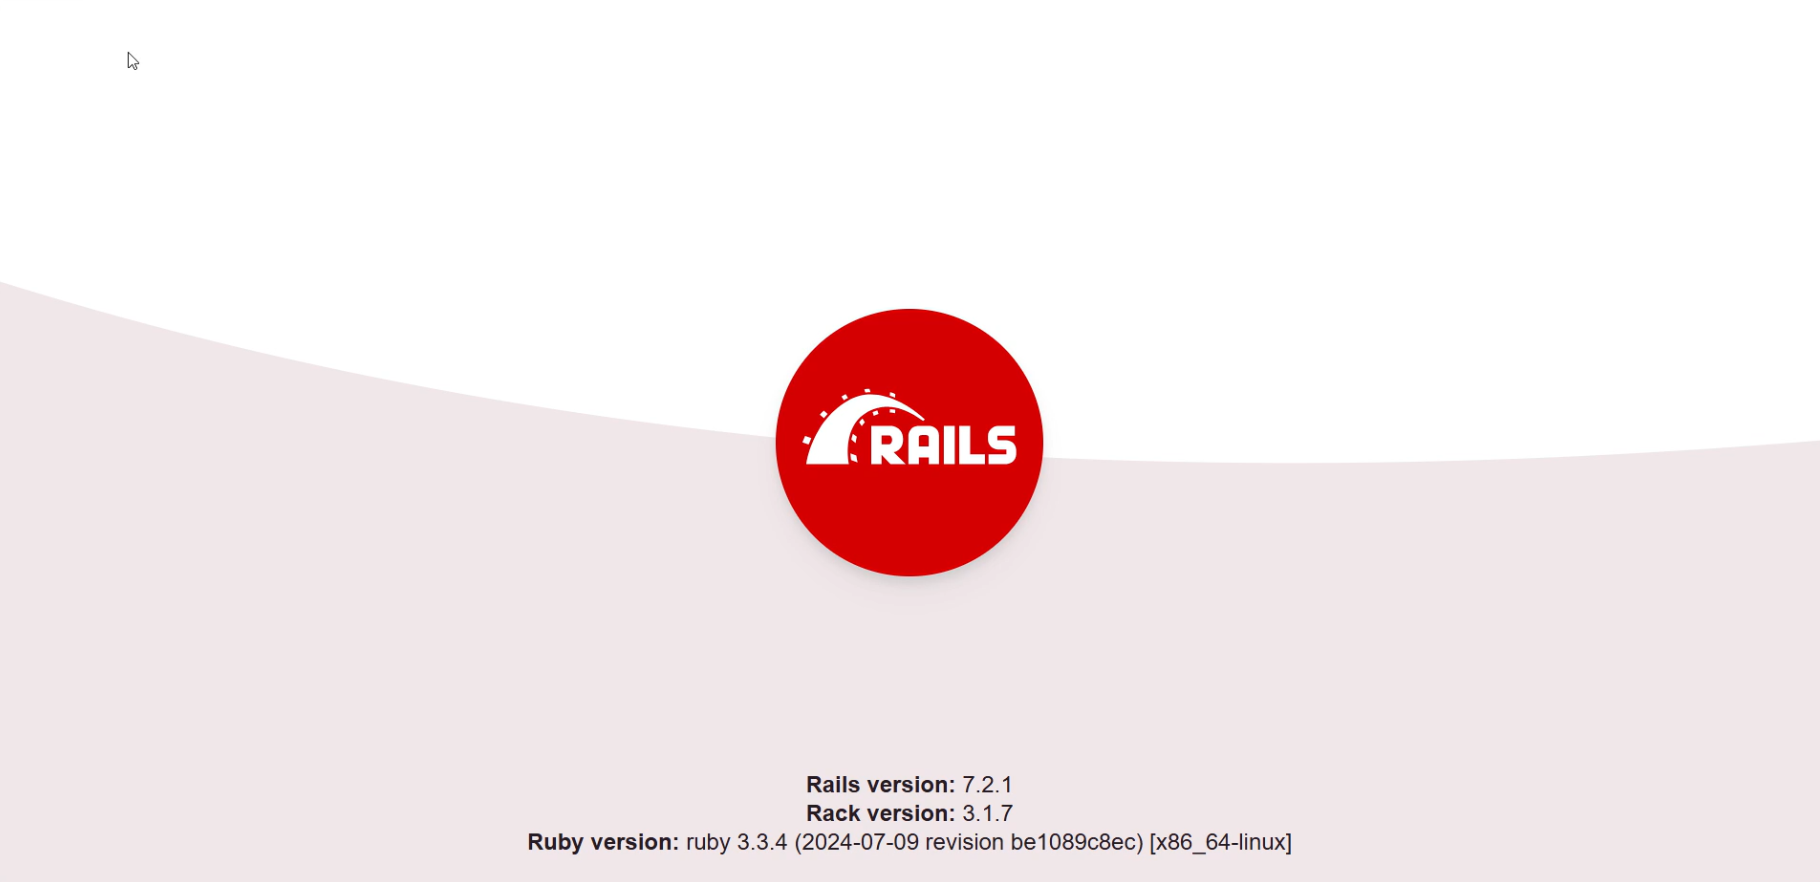
Rails Server
Your Ruby on Rails development environment is now complete! 🎉 You are now ready to begin your Ruby on Rails journey. If you are not sure where to start or are looking for more resources to help you in your coding journey, we have compiled a list of resources below.
Resources
Learning Ruby
- GoRails - A great resource for learning Ruby on Rails with screencasts and tutorials.
- The Odin Project - A free, open-source curriculum for learning Ruby on Rails, including projects and exercises.
- Codecademy - An interactive platform that offers coding classes in various programming languages, including Ruby on Rails.
Reference Guides
- Ruby Documentation - The official Ruby documentation, providing comprehensive information about the Ruby programming language.
- Ruby Language - The official Ruby website, offering resources, documentation, and community support for Ruby developers.
- Ruby on Rails Guides - The official Ruby on Rails guides, covering everything from getting started to advanced topics in Rails development.
Cheat Sheets
- PagerTree Ruby on Rails Cheat Sheet - A quick reference guide for Ruby on Rails, covering common commands and best practices.
- Eric the Coder's Ruby Cheat Sheet - A comprehensive Ruby cheat sheet created by Eric the Coder, covering syntax, methods, and more.
- Debuggers Hub Ruby on Rails Cheat Sheet - A detailed cheat sheet for Ruby on Rails, including commands, methods, and tips for efficient development.